So, you’re wondering, “How much to epoxy 2 car garage?” The Epoxy garage floor cost can vary quite a bit, but typically, you’re looking at anywhere from $500 to $3,000 for a 2 car garage epoxy price. This price depends on the size of your garage, the type of epoxy you choose, and whether you do it yourself or hire a pro. For a standard 2 car garage, which is usually around 400 square feet, you can expect to spend more on premium finishes or complex designs.
This guide will break down the costs, help you figure out how much epoxy for 2 car garage you’ll need, and explore options for every budget. We’ll cover everything from DIY kits to professional installations, helping you make an informed decision for your garage floor.
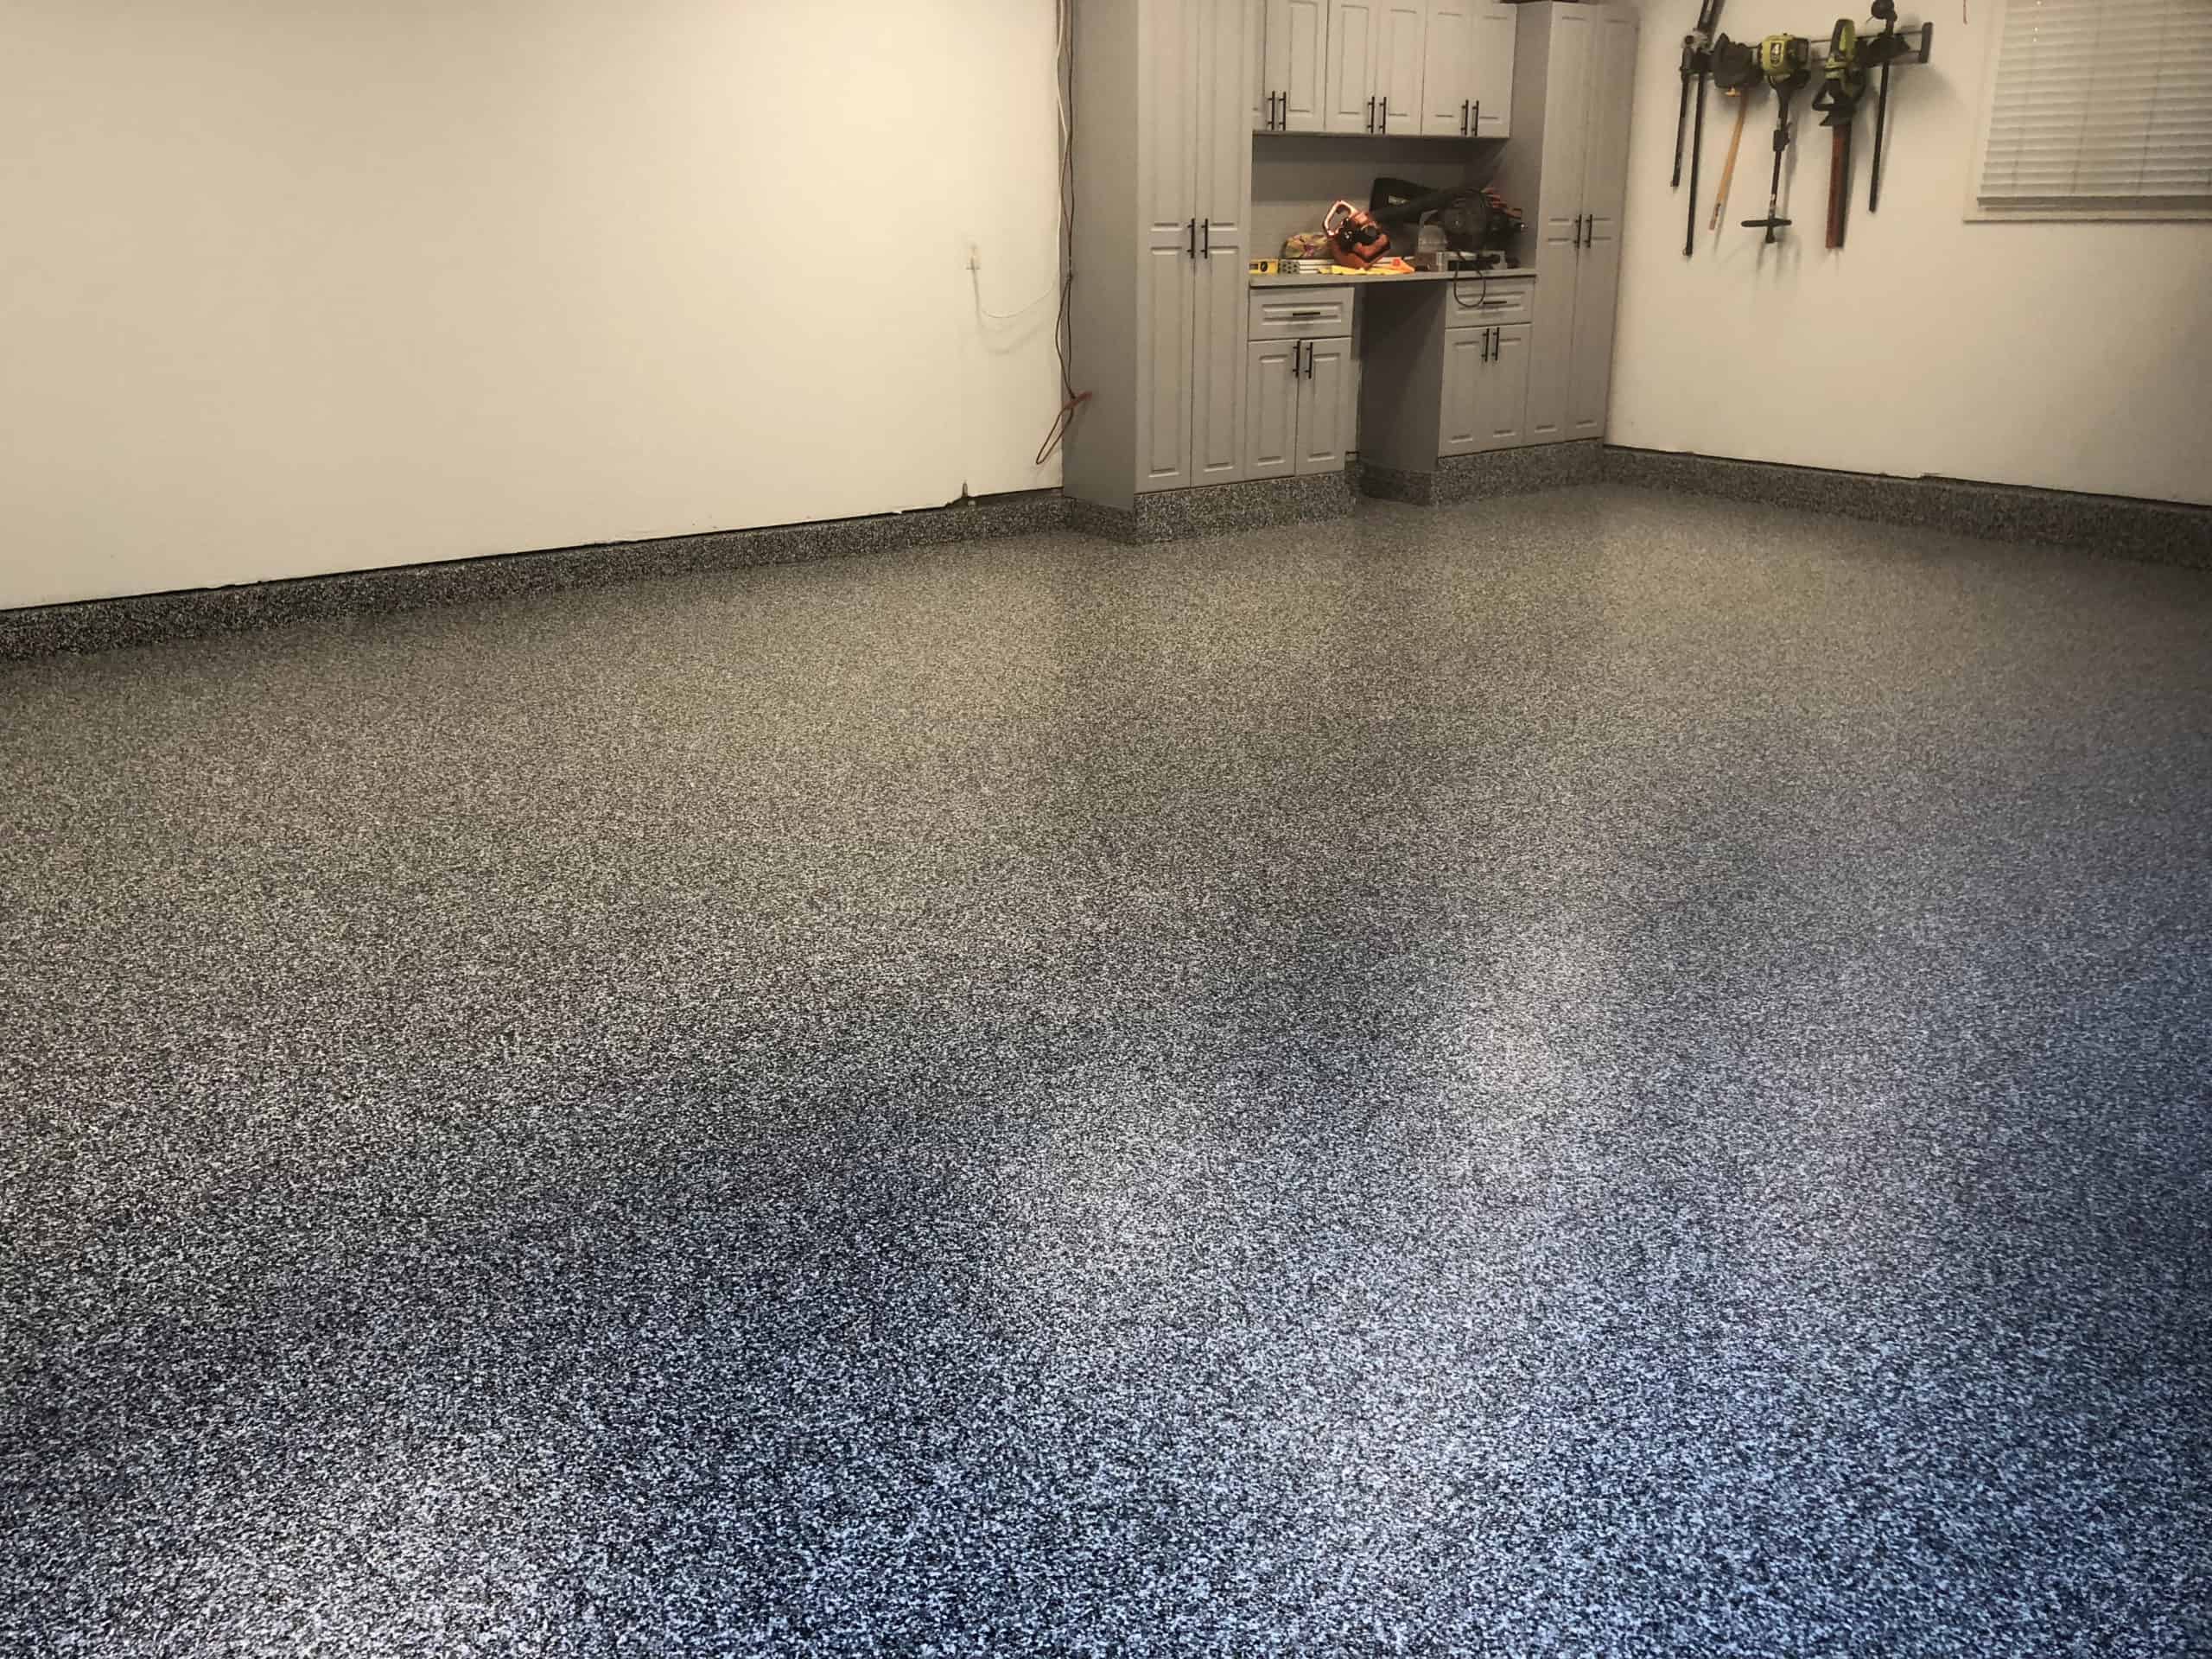
Image Source: amazinggaragefloors.net
Factors Influencing Epoxy Garage Floor Cost
Several key factors determine the final epoxy garage floor cost. Understanding these will help you estimate your budget more accurately.
Garage Size
The most straightforward factor is the size of your garage. A larger garage requires more epoxy material, labor (if you hire professionals), and prep work. While we’re focusing on a 2-car garage, which is typically around 400 square feet (20ft x 20ft), garages can vary in dimensions. Some might be slightly larger, while others might have extra space for storage.
- Typical 2-Car Garage Size: 400 sq ft
- Larger 2-Car Garage Size: 500+ sq ft
If you’re looking at the cost to epoxy 1000 sq ft garage, you’ll naturally expect that price to be double or more than a 2-car garage, assuming similar material and labor costs per square foot.
Epoxy Type and Quality
Not all epoxy coatings are created equal. The type and quality of the epoxy product significantly impact the price.
- Water-Based Epoxy: These are the most affordable option. They are easy to apply and clean up with water. However, they are less durable and offer lower resistance to chemicals and abrasion compared to other types. They are suitable for light-duty use.
- Solvent-Based Epoxy: These offer better adhesion and durability than water-based options. They also tend to have a higher gloss finish. However, they require good ventilation during application due to strong fumes and need special cleaners.
- 100% Solids Epoxy: This is the premium choice. It contains no volatile organic compounds (VOCs) and offers the highest durability, chemical resistance, and a thicker, more robust coating. It’s often used in commercial or industrial settings but is also excellent for residential garages that see heavy use. It’s also the most expensive.
- Polycuramine (Hybrid Epoxy): While not strictly epoxy, many “epoxy kits” sold for DIY use are actually polycuramine or similar hybrid coatings. These offer excellent durability, fast curing times, and are generally easier for DIYers to apply than true 100% solids epoxy. They are a popular middle-ground option.
Preparation Work
Proper surface preparation is crucial for a long-lasting epoxy coating. This step often adds to the overall cost, especially if done professionally.
- Cleaning: Removing dirt, grease, oil stains, and old paint is essential. Degreasers and specific cleaners are often needed.
- Etching or Grinding: Concrete needs to be porous to allow the epoxy to bond properly. This is typically achieved through acid etching or mechanical grinding. Grinding is more effective but also more expensive if hired out.
- Crack and Pothole Repair: Any cracks or damaged areas in the concrete need to be filled and repaired before applying the epoxy. Patching compounds add to the material cost.
DIY vs. Professional Installation
This is one of the biggest cost drivers.
- DIY Garage Epoxy Cost: Doing it yourself can save a significant amount on labor. You’ll primarily pay for the garage floor epoxy kits and any necessary tools or supplies. DIY garage epoxy cost can range from $200 to $800 for a basic kit for a 2-car garage.
- Professional Garage Epoxy Installation Cost: Hiring professionals will increase the price substantially due to labor, expertise, and specialized equipment. However, it usually results in a more durable and aesthetically pleasing finish. Professional garage epoxy installation cost typically starts from $1,000 and can go up to $3,000 or more for a 2-car garage, depending on the chosen epoxy system and any decorative elements.
Decorative Additions
Want a more custom look? You can add decorative flakes, metallic pigments, or quartz aggregates.
- Decorative Flakes: These are small chips that are broadcast into the wet epoxy to create a granite-like appearance and improve slip resistance. They add a visually appealing finish.
- Metallic Pigments: These create a stunning, high-gloss, and unique marbled effect. They are more expensive than flakes and require a specific application technique.
- Quartz Aggregates: These are small, naturally occurring crystals that provide exceptional durability and slip resistance, often used in commercial settings.
These additions can increase the epoxy for 2 car garage cost by $100 to $500 or more, depending on the type and amount used.
Estimating Your Budget: DIY vs. Professional
Let’s break down the potential costs for a typical 2-car garage (around 400 sq ft).
DIY Garage Epoxy Cost Breakdown
If you’re planning a DIY garage epoxy project, your main expenses will be the materials.
Garage Floor Epoxy Kits
You can find garage floor epoxy kits at most home improvement stores. These kits typically include the epoxy base coat, color, and a clear topcoat, along with any necessary additives like anti-slip agents.
- Basic Kits (Water-Based or Lower Solids): $100 – $300 (for 400 sq ft)
- Mid-Range Kits (Higher Solids or Hybrid): $300 – $600 (for 400 sq ft)
- Premium Kits (100% Solids or Special Finishes): $500 – $1,000+ (for 400 sq ft)
Remember to check the square footage coverage on the kit. Some kits are designed for smaller areas and might not cover a full 2-car garage. You might need to purchase additional material if your garage is larger or if the kit coverage is underestimated.
Additional DIY Supplies and Tools
Beyond the kit, you’ll need other items:
- Degreaser/Cleaner: $20 – $50
- Concrete Etching Solution (if not included): $20 – $40
- Concrete Patch/Crack Filler: $15 – $30
- Squeegee: $15 – $30
- Rollers (epoxy-specific): $20 – $40 (you’ll need several)
- Roller Extension Pole: $15 – $25
- Paint Brushes (for edges): $10 – $20
- Mixing Buckets: $10 – $20
- Mixing Paddle (for drill): $20 – $40
- Stir Sticks: $5 – $10
- Gloves (heavy-duty): $10 – $20
- Safety Glasses/Goggles: $5 – $15
- Respirator Mask (especially for solvent-based): $20 – $50
- Optional: Concrete Grinder Rental: $50 – $150 per day (if you opt for grinding over etching)
- Optional: Decorative Flakes/Metallic Pigment: $50 – $200
Total Estimated DIY Cost (400 sq ft):
- Basic DIY: $200 – $500
- Mid-Range DIY: $400 – $900
- Premium DIY (with flakes/metallic): $600 – $1,200+
Professional Garage Epoxy Installation Cost Breakdown
When you hire a professional, you’re paying for their expertise, time, equipment, and the higher quality materials they often use.
Labor Costs
Labor is a significant portion of professional installation. This includes:
- Surface Preparation: Professionals will typically use mechanical grinding to ensure the best adhesion. This is a time-consuming and labor-intensive process. They will also clean, degrease, and repair any concrete imperfections.
- Epoxy Application: Applying epoxy correctly, especially 100% solids or metallic finishes, requires skill and experience to achieve a uniform and flawless look. This includes proper mixing, rolling, and back-rolling techniques.
- Cleanup: Professionals will clean the site thoroughly after the job is done.
Labor costs can range from $500 to $1,500 or more for a 2-car garage, depending on the complexity and location.
Material Costs (Professionally Supplied)
Professionals often have access to higher-grade, industrial-strength epoxy systems that may not be readily available to consumers or that are more expensive to purchase individually.
- Premium Epoxy Systems (100% Solids): $4 – $8 per square foot
- Decorative Flakes/Metallic Pigments: $0.50 – $2 per square foot
- Professional Grade Sealers/Topcoats: $1 – $3 per square foot
Total Estimated Professional Installation Cost (400 sq ft):
- Basic Epoxy (Water-based or lower solids): $800 – $1,500
- Mid-Range Epoxy (Higher solids, basic flakes): $1,200 – $2,200
- Premium Epoxy (100% solids, metallic, quartz): $1,800 – $3,000+
It’s important to get multiple quotes from reputable local installers to compare garage floor coating prices and services.
How Much Epoxy For 2 Car Garage: Material Quantities
Estimating the right amount of epoxy is crucial to avoid running short or buying too much.
Calculating Your Square Footage
First, measure your garage’s length and width.
- Example: If your garage is 20 feet long and 20 feet wide, the square footage is 20 x 20 = 400 sq ft.
- Don’t forget the walls! Some people like to epoxy a few inches up the wall for a seamless look, especially around the base. Factor this in if desired, but usually, it’s just the floor.
Epoxy Coverage Rates
Epoxy products have recommended coverage rates, usually stated in square feet per gallon or per kit. This varies depending on:
- Epoxy Solids Content: Higher solids epoxy coatings are thicker and may cover slightly less square footage per gallon than thinner water-based epoxies.
- Application Thickness: A thicker coat will use more material.
- Surface Porosity: A very porous concrete surface might absorb more epoxy, requiring a bit more product.
General Coverage Guidelines (for a typical 2-car garage – 400 sq ft):
- Base Coat: Often requires 1 gallon per 100-150 sq ft. So, for 400 sq ft, you might need 2.5 – 4 gallons.
- Color Coat (if separate): Similar coverage to the base coat.
- Clear Topcoat: Usually covers more area, perhaps 1 gallon per 200-300 sq ft. So, 1.5 – 2 gallons for 400 sq ft.
Most garage floor epoxy kits are designed to cover approximately 400-500 sq ft for a 2-coat system. Always check the manufacturer’s specifications on the kit or product.
If you’re buying epoxy in bulk (e.g., 100% solids), you’ll typically need about 100-125 sq ft per gallon for a single coat. For a two-coat system, that’s 50-62.5 sq ft per gallon.
For a 400 sq ft garage with a two-coat system of 100% solids epoxy:
- First Coat: 400 sq ft / 100 sq ft/gallon = 4 gallons
- Second Coat: 400 sq ft / 125 sq ft/gallon = 3.2 gallons
This means you might need around 7-8 gallons of 100% solids epoxy for a two-coat system, plus a topcoat if it’s separate.
Key Takeaway: When in doubt, it’s often better to buy slightly more epoxy than you think you’ll need. Running out mid-job is a significant problem, especially if you have a specific color batch.
The Application Process: DIY Steps and Professional Execution
The way epoxy is applied impacts both the final look and the cost.
DIY Application Steps
- Clear Out the Garage: Remove everything from your garage.
- Surface Preparation:
- Clean Thoroughly: Sweep, vacuum, and use a concrete degreaser to remove all oil, grease, and dirt.
- Repair Cracks and Holes: Use a concrete patch or filler.
- Etch or Grind: Follow the product instructions. Etching involves applying an acid solution and rinsing. Grinding uses a diamond-cup wheel on an angle grinder.
- Rinse and Dry: Ensure the floor is completely dry.
- Mix the Epoxy: Follow the manufacturer’s instructions carefully. Mix components A and B for the specified time.
- Apply the Base Coat: Start in a back corner and work your way out. Use a squeegee to spread the epoxy evenly, then back-roll with a high-quality roller to ensure a uniform thickness and remove roller marks.
- Broadcast Flakes (Optional): If using flakes, broadcast them into the wet epoxy immediately after rolling.
- Allow to Cure: Follow the recommended drying times between coats and before light foot traffic.
- Apply Topcoat (if applicable): Mix and apply the clear topcoat, again using a squeegee and back-rolling.
- Allow Full Cure: Wait for the full cure time (usually 5-7 days) before parking vehicles on it.
Professional Application Process
Professional installers follow a similar process but with a higher level of precision and often better equipment.
- Advanced Prep: They will likely use mechanical grinding for superior adhesion. They have specialized vacuums to control dust.
- Material Expertise: They know how to mix and apply different epoxy types for optimal performance and aesthetics.
- Efficient Application: They work systematically and efficiently, often using specialized rollers and squeegees.
- Problem Solving: They are equipped to handle unexpected issues with the concrete surface.
- Warranty: Many professional services come with a warranty on their workmanship.
Choosing the Right Epoxy for Your Needs and Budget
With so many options, how do you pick the best epoxy coating for garage floors?
Consider Your Usage
- Light Use (Storage, occasional car parking): Water-based or lower solids epoxy might suffice and is the most budget-friendly.
- Moderate Use (Daily car parking, some foot traffic): Mid-range hybrids or higher solids epoxies offer better durability.
- Heavy Use (Workshops, vehicles with studded tires, high traffic): 100% solids epoxy or polycuramine systems are recommended for maximum durability and chemical resistance.
Consider Your Aesthetic Goals
- Simple, clean look: A single color epoxy is cost-effective.
- Granite appearance: Add decorative flakes.
- High-impact, modern look: Metallic pigments or quartz aggregates.
Budget Considerations
- Lowest Budget: Focus on DIY kits with basic water-based or lower solids epoxy.
- Mid-Range Budget: Opt for a good quality DIY kit with higher solids content or hire a professional for a basic installation.
- Higher Budget: Invest in professional installation of a premium 100% solids epoxy with decorative elements.
Common Pitfalls to Avoid
- Inadequate Surface Preparation: This is the number one cause of epoxy failure. Don’t cut corners here!
- Using the Wrong Roller: Standard paint rollers will degrade in epoxy. Use solvent-resistant, high-density foam rollers.
- Not Mixing Properly: Improperly mixed epoxy won’t cure correctly.
- Working in Extreme Temperatures: Extreme heat or cold can affect curing.
- Walking on Wet Epoxy: Respect drying times to avoid footprints or damage.
- Not Buying Enough Material: It’s better to have a little extra.
- Ignoring Ventilation: Especially with solvent-based products.
Frequently Asked Questions (FAQ)
Q1: How long does epoxy garage floor coating last?
A: Properly installed epoxy coatings can last anywhere from 5 to 10 years, or even longer, depending on the type of epoxy used, the quality of installation, and the level of traffic and chemical exposure the floor experiences.
Q2: Can I epoxy over an existing painted concrete floor?
A: It depends on the condition of the paint. If the paint is well-adhered and not peeling, you might be able to epoxy over it after thorough cleaning and light abrasion. However, for the best results and adhesion, it’s often recommended to remove existing paint entirely.
Q3: How long does it take for epoxy to cure?
A: Epoxy has two curing stages:
* Light Foot Traffic: Typically 24 hours.
* Heavy Foot Traffic & Vehicle Parking: Usually 5-7 days.
Always follow the specific product’s instructions, as curing times can vary.
Q4: Is a 100% solids epoxy worth the extra cost for a home garage?
A: For most home garages that experience regular use, yes, the extra cost for 100% solids epoxy is often worth it. It offers superior durability, chemical resistance, and a thicker, more robust finish that will last much longer than thinner, water-based options.
Q5: What’s the difference between epoxy and concrete sealant?
A: Epoxy is a two-part chemical reaction coating that cures to a hard, durable, and often thick layer. Concrete sealants are typically single-component products that penetrate the concrete surface to provide protection against stains and moisture, but they don’t form a thick, protective film like epoxy. Epoxy offers much greater durability and resistance.
Q6: Do I need a primer for epoxy garage floors?
A: Some epoxy systems recommend or require a primer, especially on very porous or older concrete. Primers help seal the concrete and improve adhesion. Always check the manufacturer’s instructions for the specific product you are using.
By carefully considering these factors and your budget, you can achieve a beautiful and durable epoxy finish for your 2-car garage.